How to Prepare a Home for a Successful Photo Shoot
There’s something magical about seeing your space through the lens—when all the light, lines, and little details come together in a single frame. But that magic doesn’t just happen on its own. A bit of thoughtful prep can help us make the most of our time together and let the design truly shine.
Here are a few simple things you can do to get ready for a shoot, whether it’s a home, a commercial space, or a newly completed project.
1. Declutter Surfaces
Visual noise can distract from the beauty of a space. Take a few minutes to clear:
Kitchen counters (goodbye, toaster and coffee grinder)
Bathroom vanities (store away toiletries and toothbrushes)
Nightstands and side tables (books and lamps are fine—cables and tissues, not so much)
Living spaces (tuck away remotes, phone chargers, extra throws)
Think: tidy, not sterile. We still want the space to feel lived-in and welcoming—just not messy.
2. Tidy the Floors
A quick vacuum or sweep can make a huge difference. If there are small area rugs or throw rugs, consider removing them unless they’re a core part of the design—visually, they often break up the flow of a photo.
3. Clean the Glass
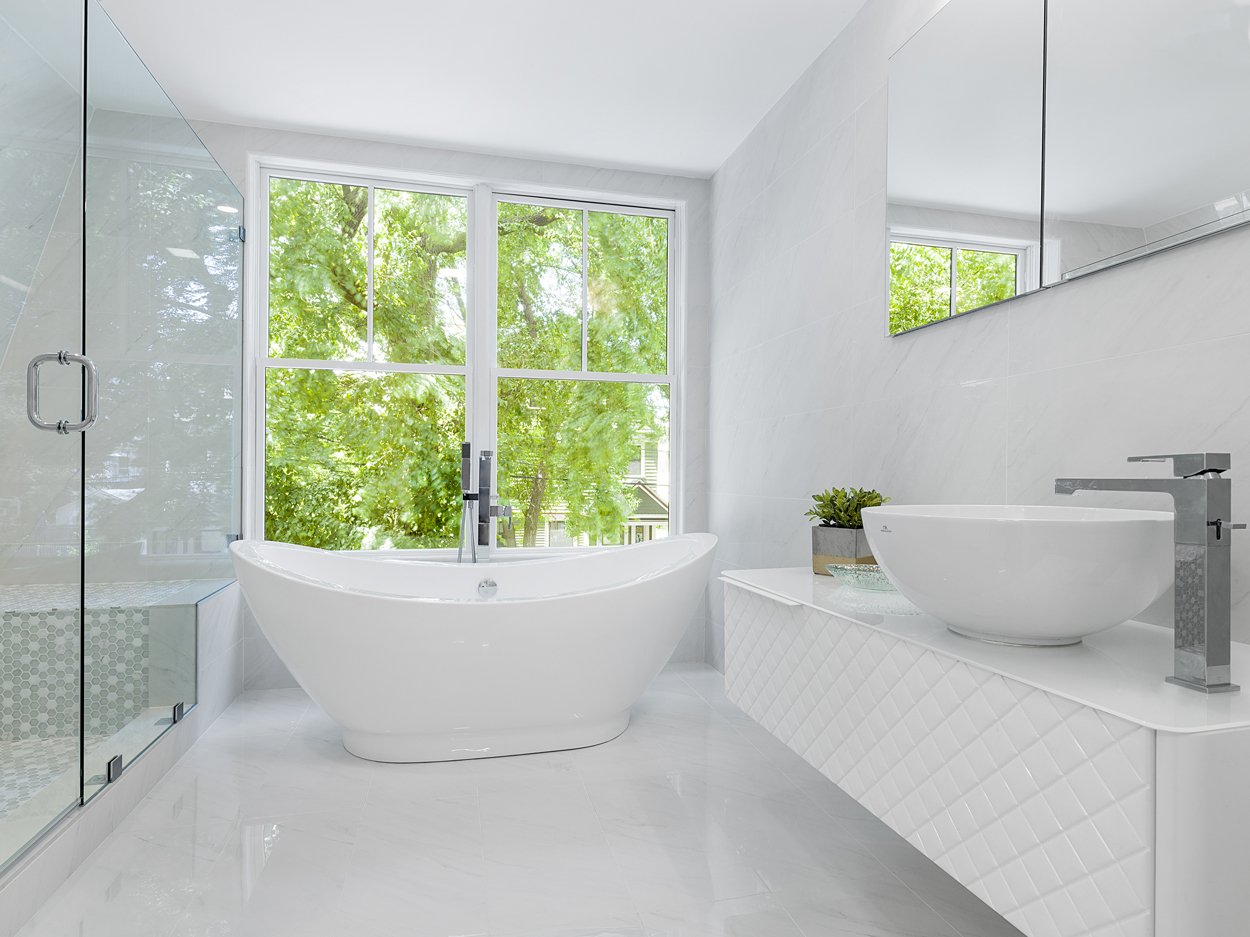
Mirrors, windows, and shower doors love to collect smudges and water spots—give them some attention with glass cleaner for a crisp, polished look in photos.
4. Edit the Textiles
Remove anything that might distract from the clean lines of the space:
Kitchen towels and oven mitts
Bathrobes and laundry hampers
Blankets or throws that aren’t adding intentional color or texture
If it’s there for comfort, that’s great. If it’s there by accident, maybe give it the day off.
5. Exterior Prep
If we’re photographing the outside of the home or building, please:
Move vehicles from the driveway or front of the building
Hide trash bins, hoses, and yard tools
Sweep walkways if needed
Close all windows and doors for a clean facade
Water plants or garden beds if it’s been dry (it helps them photograph better!)
6. Windows, Light, and Ambience
Lighting plays a big role in the feeling of a space—and window treatments are part of that.
If the view outside is less than ideal (another building, a busy street), it’s usually best to keep blinds and shades closed.
If the view is part of the story (a garden, water view, treetops), open the shades wide and align them neatly—consistency makes a big visual impact.
Feel free to turn on lamps or overhead lighting if it adds warmth. I will adjust lighting on-site, but it helps to start from a place that feels true to the space.
A Final Note
You don’t need to aim for perfection—just intention. The best photos often come from spaces that feel cared for. These little steps will help us capture your project in its best light, and make sure all the hard work, design choices, and lived-in beauty come through clearly.
Got questions or unsure if something should stay or go? Reach out anytime—I’m happy to help.
Let’s make something beautiful.


